|
Replacing the Front Brake Pads
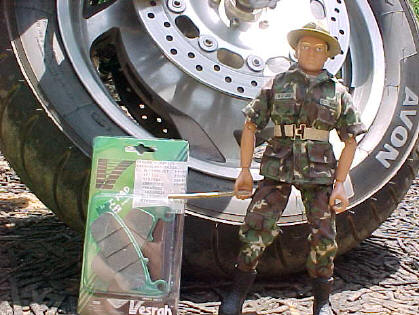
OK Troops, You are starting to shape up
and look like real F6 Troopers instead of a bunch of nasty cagers. Ready
for something a little more advanced? Time to get the ole assault
bike's binders working like new again. 70 percent of a motorcycles
stopping power is from the front brakes, so check-em often. (once a week
if you ride a lot) Checking the pads is easy troop...once you know how.
To check the pads just look past the rotor down into the brake caliper
at the pads. See those grooves in the pads???? They aren't there to be
stylish troop. When you can't see the grooves anymore it's time to
replace the pads. If you've let the pads wear to the point where
the metal backing plate is biting into the rotors then you'll be doing
pushups till you're arms fall off . Then you'll have to fork out big
bucks for new rotors.
OK....on to the pad
replacement........but first.............Sgt Joes P.T.!!!
FRONT LEANING REST
POSITION.............MOVE!!!!!!!!!!!!!!!
Before ya get started get all your
equipment together, you're gonna need:
a ratchet with an extension and a 12mm
socket
a standard screwdriver
the allen (hex) wrenches from your tool
kit
a c-clamp or brake caliper compressing
tool ($5-$6 at auto parts stores)
2 sets of kevlar front brake pads
a small tube of lock-tite
an old towel
Decide which side of the bike you want to
start on. Finish that side before starting on the other.
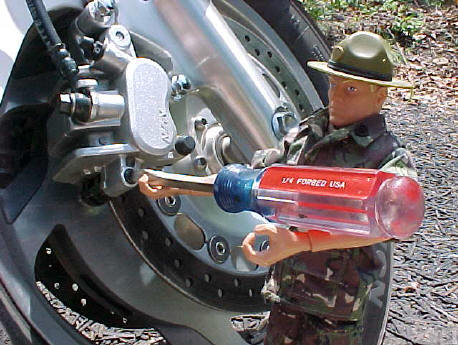
First use the screwdriver to remove the
gunmetal gray plug on the lower portion of the caliper, This will expose
an allen (hex) head bolt underneath.
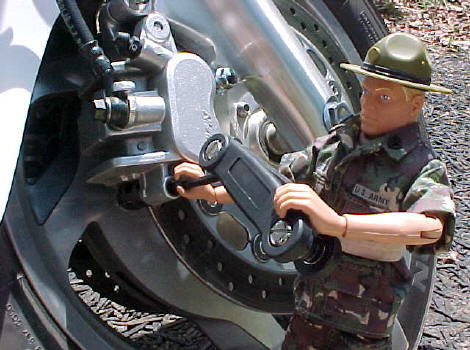
Locate the proper size allen head wrench
from your tool bag and loosen this bolt turning counter-clockwise, but
don't remove it.
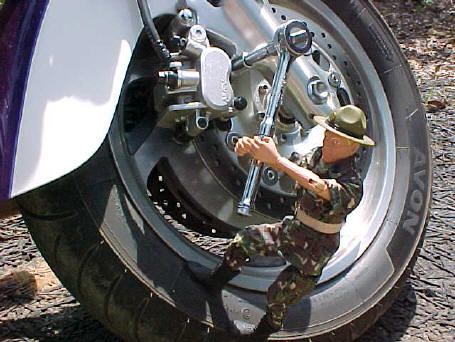
Next use the ratchet extension and 12mm
socket to loosen the 2 chrome bolts holding the caliper onto the mount.
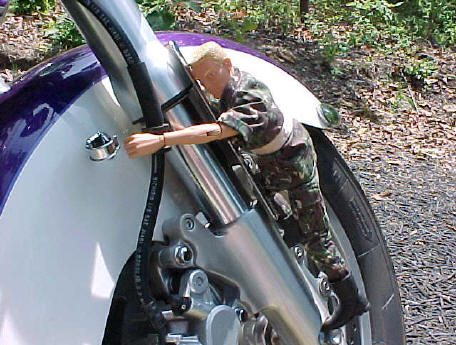
Pop the brake line from it's retainer and
drape the towel over the fender to keep the caliper from scratching it.
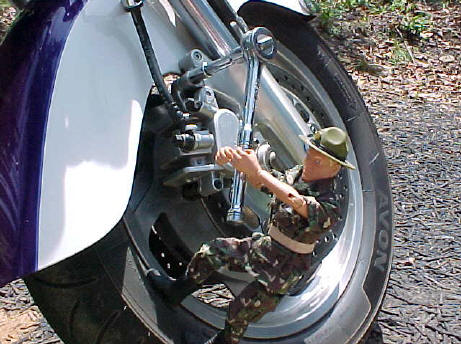
Remove the 2 chrome retaining bolts and
turn the caliper so you can look at the pads.
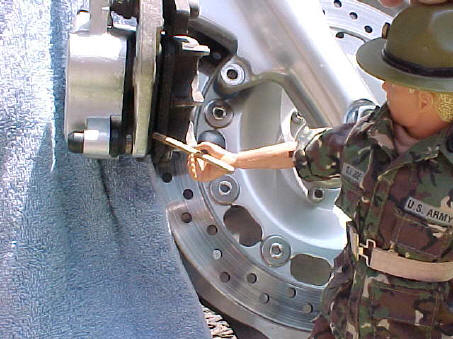
Observe how they are attached to the
caliper. The top of the pad is inserted into a groove in the top of the
caliper and a bolt runs through a hole in the bottom of the pad. Now use
the allen head wrench to remove the bolt you loosened earlier and remove
the pads.
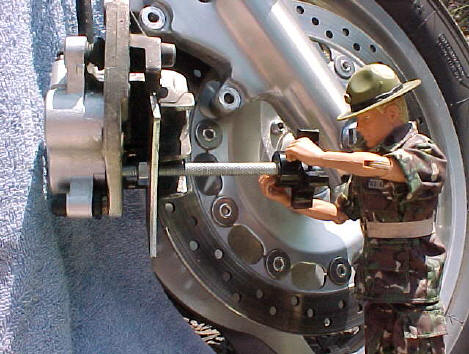
Take the c-clamp or caliper tool and
press the pistons back into the caliper one at a time. Go gentle with em
and they will slide right in with a little pressure.
Take the new pads and insert the tab at
the top into the groove in the caliper, and line up the holes in the
caliper with the holes in the pads.......MAGGOT!!!!!!!!!! WHAT DO
YOU THINK YOU'RE DOING TO MY BELOVED ASSAULT BIKE??????? THE KEVLAR PADS
GO TO THE INSIDE!!!!!!!!!!! NOW DROP! DROP! DROP!
Now put em back in there right! Put the allen head bolt back in to hold
em in place but don't screw it in yet.
Take the lock-tite and put a drop on the
threads of the bolt and screw it in all the way.
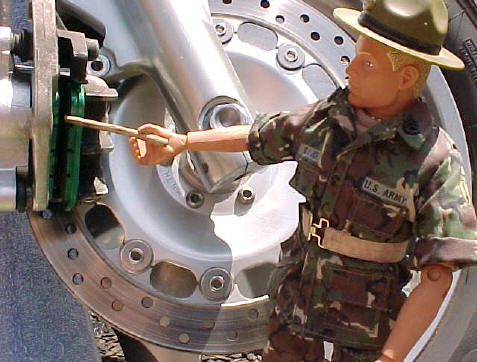
Spread the new pads apart and position
the caliper and pads over the rotor and on the mounting bracket. One pad
on each side of the rotor. Put a drop....I said DROP PRIVATE! on each of
the chrome bolts and run em in tight. Then finish tightening the
allen head bolt holding the pads on, and screw the slotted plug back in.
Now pop the brake line back into its retainer.
Now repeat the process on the other side.
Before riding the assault bike out on your next mission make sure you
pump the front brake lever (That's your military right numb-skull....the
one in front of the throttle) several times to re-seat the pistons
out of the calipers. You will feel brake pressure grow as you squeeze
the lever.
Congratulations Troops, You've just
increased the chances of surviving your next mission. |


