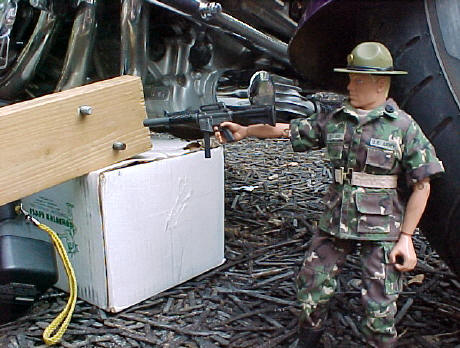
Installing the Trigger Wheel
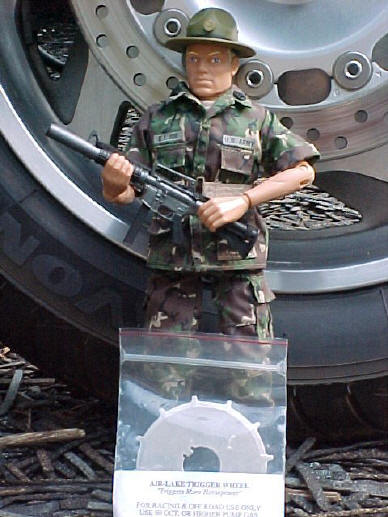
Today's training Troops is on installation of
the Air Lake Trigger Wheel.
First get the following items together:
1: 3/8 drive ratchet with 12 mm and 17 mm
sockets
2: hex wrenches from the F6C tool kit (Only the
one that fits the cover bolts)
3: an electric drill with a 23/64 drill bit.
(or another bit slightly smaller than 5/16ths)
4: two 5/16 bolts 2 to 2 1/4 inches long
5: a 2x4 board 3-4 feet long
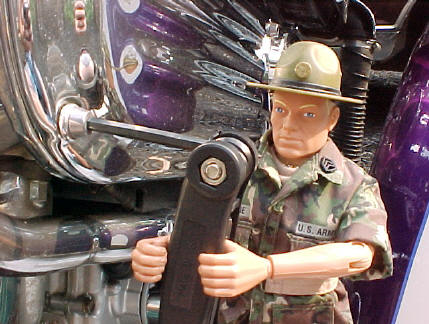
Start out with the assault bike on a firm
surface and put the transmission in neutral. Use the hex wrench to remove the
10 timing cover bolts . Don't remove the 3 crank cover bolts in the center of
the timing cover. There are three lengths of bolts Troops so pay attention to
which bolts come from which holes.
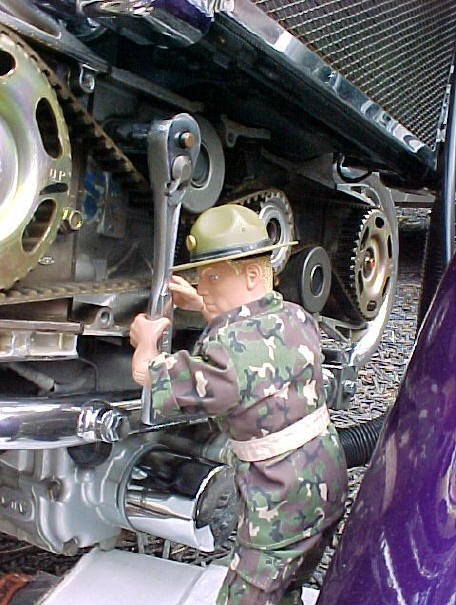
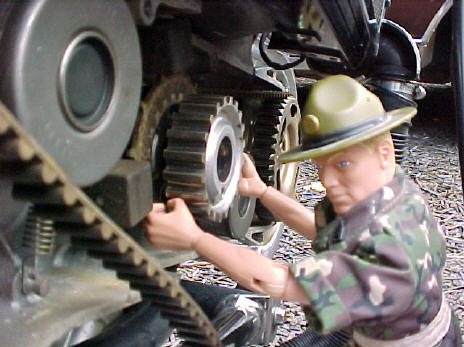
Now carefully remove the timing cover
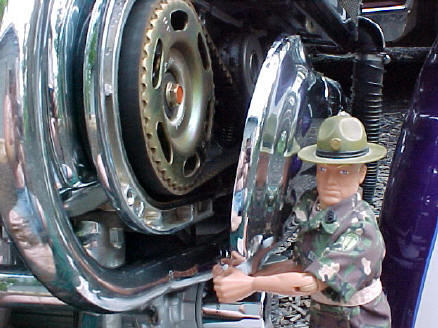
Using the ratchet with the 17mm socket turn the center
crankshaft bolt (in the middle of the motor) until the marks on the cam gear
line up with the small arrow on the outer edge of the rear cam cover (painted
black above).
Now take the drill, and drill 2 holes in the board at one end
at an angle, about 2 1/4 to 2 1/2 inches apart. Use a drill bit that is slightly
smaller than the bolts. Then drive the bolts through the holes with a hammer.
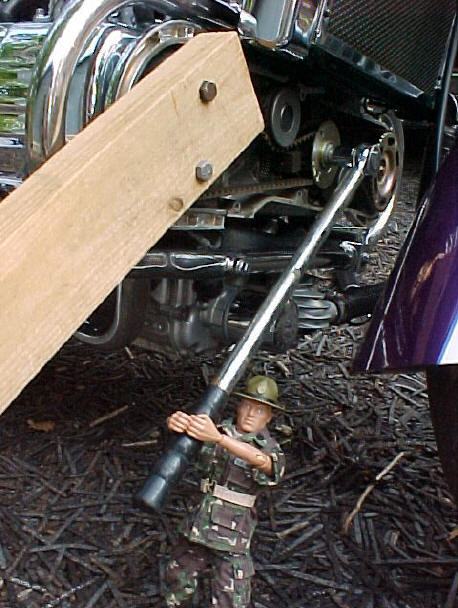
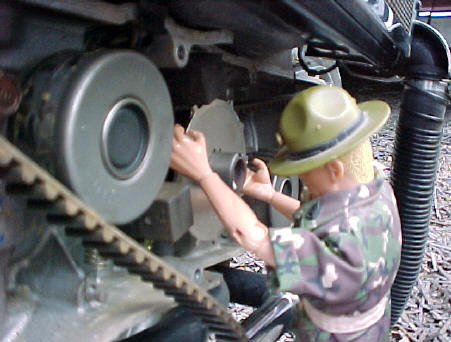
Place the ends of the bolts in the support board/tool through
the slots in the right cam gear, with the end of the board on the ground. Then
use the ratchet and 17mm socket to loosen the crank bolt (use an extension on
the ratchet if necessary). Remove the board/tool and check the alignment
marks. If they have moved use the ratchet and 12mm socket on the CAM gear bolt
to re-align them. Remove the crank bolt, washer and cover plate.
Use the ratchet and 12mm socket to loosen the 2 bolts on
either side of the timing belt tensioner.
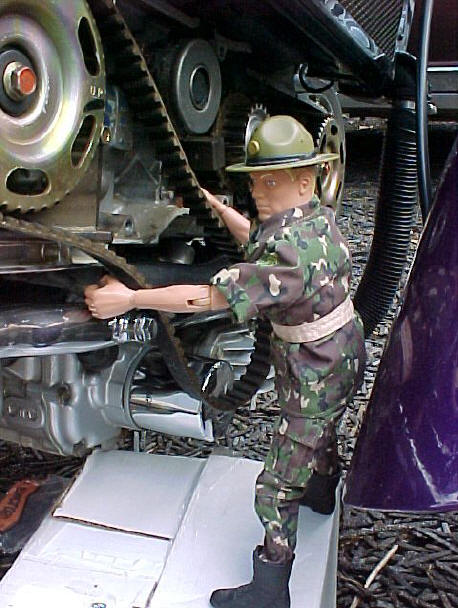
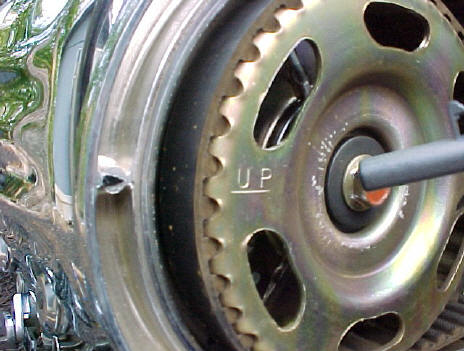
Move the tensioner upward and pull the belt off of the
crankshaft gear. note the position of the cover plate alignment hole in the
crankshaft gear. it will be either in the 12 o-clock or 6 o-clock position.
Remove the crankshaft gear and the stock trigger wheel from
the crankshaft.
Install the new trigger wheel with the word "out" visible.
Replace the drive-shaft gear with the cover plate alignment hole visible and
re-install the timing belt. Put the belt under the tensioner, press down gently
on the tensioner (putting tension on the belt) and release it, then tighten the
tensioner bolts (be careful not to over-tighten these.....they are going into an
ALUMINUM engine). Put the wood support tool back in place on the cam gear,
replace the cover plate, washer and bolt on the crank gear making sure that the
pin on the back of the cover plate goes into the hole in the crank gear.
Tighten the crank bolt TIGHT.
Re-install the cover and bolts and then police the area.
Before you mount the F6C assault bike for a test
ride................
FRONT LEANING REST POSITION MOVE!!!!!!!!!!!!!!!!!!!!
 ShopTalk