|
 ShopTalk
|
Because these pages may move to other servers
from time to time, we have put this information on our server for all to
view. If you are the original author, and you have a problem with that,
please contact us and we will remove this page.
Please checkout the "Original Authors"
web page.
|
Not So Easy Glass Pack Mod
Glasspacks
for the Valkyrie
So you've cut the piggies, punched out your baffles
and maybe even done the
"Shrimplin Cut" but you're still not happy.
by Lamont Bryden
New
Easy Glass Pack Mod
Hear
the Valkyrie Sing with the Lamont Packs
(allow some time for this sound file to load)
You don't want to spend $600 to $800 for pipes
that look like blued organ pipes but still have a need for a little more sound.
Well, this may be the mod for you! I have done this mod on four bikes now and so
far everyone loves it. The comment I get the most is " now that's the way
this bike should sound".
 |
So now it's time
to hook up with your local welding shop or muff man and start hacking up
your $1600 stock pipes. I say that because if your not comfortable with
hacking into your pipes then you better stop now. This is not for the
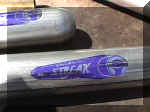
faint of heart! The first thing you do is go out and make sure you can
find the glass packs before you tear down your bike. Of course you knew
that. What you are looking for is two 18" or 24" packs and one
12" pack. |
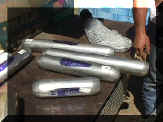 |
You will save about 7 lbs if you go with the
18" packs and will be able to put your stock tips back on. If you go
with the 24" packs you will have to change out the tips. The 12" pack
is just so you can cut the ends off for welding on the end of the other packs
for collectors. This will all make sense in a minute. All three packs should run
you about $80.00 .
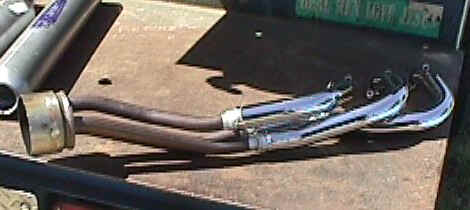
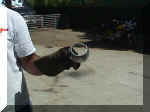
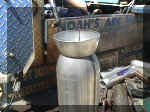
Should look like this when cut...
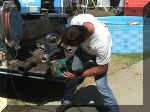
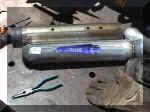
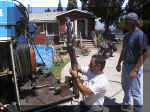
Now that you have your packs you can go ahead and take your pipes
off and all of the chrome sheet metal. Next thing you do is go ahead and put
your pipes in a vise and mark around the can about 3" from the header (see
arrow above) with a pipe wrap or a thick piece of paper that will give you a
straight line all the way around. Now take a handheld bandsaw or a hacksaw and
make your cut on the pipe at the mark.
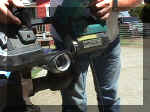
Now you can cut the end off where the piggies
were as close as you can to the edge so that you can save the nuts that hold on
your tips. Some of you may be thinking I can use my chopsaw to cut this, but if
you do the chrome covers won't fit right because of what you lost in the cut.
Now here comes the hard part, removing the
baffles. See
related article; Removing the Baffles
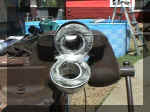
Now that you got the baffles out you are ready to start putting it all back
together. Start by cutting the ends off of the 12" pack and welding on the
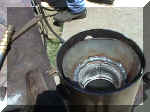
end of the 18" or 24" pack. The glass packs are made to go one way but
we are going to put our cone on the other end. If you look in the packs you will
see all these little cups.
What we want is to weld the cone so that exhaust
flows over the cups and not into them. This will make it a little louder and the
packs will last longer.
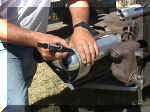
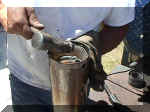
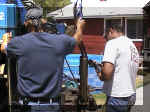
Now that you have the cone welded on, set the pack next
to the can and line up the header ends, (above)

What you need to do now is make a mark on the can where the nuts that are welded
inside of the can that hold the tips on. Now take a ball peen hammer and beat a
dent from the mark on the pack to the end of the pack. You have to make a bigger
dent for the right side to clear the dent that is in the can.
Now drop the pack in the can and recess it about 1/8 of an inch.
Weld the cone to the can. You will have to tack the cone to the pipe and beat
the cone to fit the pipe.
Now stand the header straight up and set the can on the header and line up the
factory seam weld.
Weld all the way around and then grind smooth so that the chrome sheet metal
covers fit flat.
Now put your bike back together and fire her up! Now it's up to you if you want
to rejet.
I went ahead and re-jetted my bike
and gained a little more power.
ValkyrieRiders.com
Message Board
ShopTalk
Just Pics
Valkyrie Hot Links


